Garm Frigates vs Swarm of Imps
 |
| The Underused Savior of the Rebellion |
The Fleets
Yet again I am flying my Garm Frigates list. Today I was trying it out vs another swarm of fighters. This time from the Empire. Below is the Garm Frigates list, based off of getting IF! to trigger on the hundred slashes approach to attacking ships.
 |
| Garm Frigates |
My opponent brought his Thrawn two ship type fleet, but based on Ruthless strategists and TIE bombers vs a gob of Aces. The plan is either to bomb you from the get go or or if you have squadrons they will die to a pile of TIE bombers and ruthless flak before those bombers go hopping towards your ships.
 |
| Surprisingly Effective |
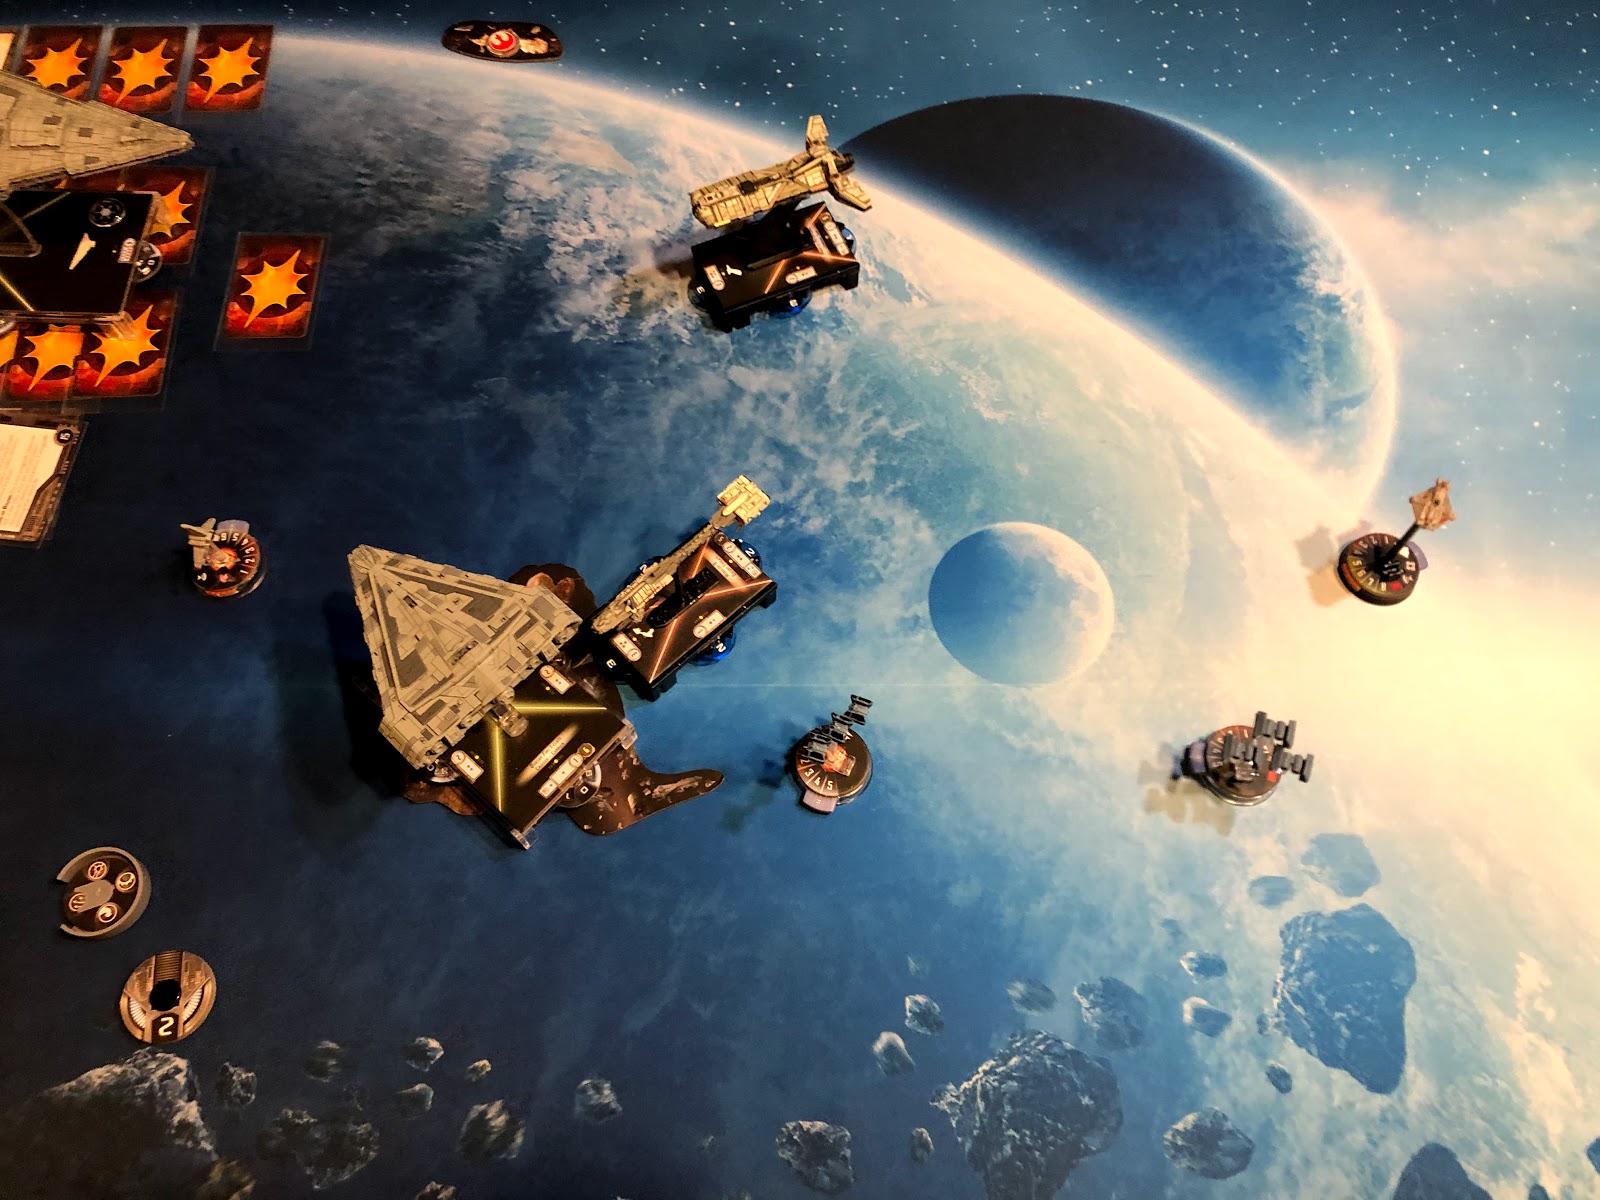
Setup
He won the bid by a lot and chose to go first. We again played Infested Fields, to see how it works yet again. This time I put the obstacles closer to the middle but within range of me grabbing them in Round 1. Squall went down and then I setup per my battle line plan while he dropped fighter after fighter. Finally, the ISD went down on the left flank opposing my Assault Frigate. Pryce was set for Round 2.
 |
| Post setup |
Round 1
The ISD and Quasar moved forward at speed 2 while the squadron ball advanced to the middle ground. My squadrons grabbed all three victory tokens near me and my ships maneuvered to shoot the gaps between all the obstacles. Everyone was setup for the next round.
 |
| End of Round 1 |
Round 2
The ISD led off because it had to. Thrawn patiently waited to reveal his master plan. Avenger shot nothing but advanced menacingly towards the Assault Frigate. Then it was my turn to go.
I led off with the Slaved Turret HH which got an obstructed shot on the ISD for several damage. Toryn's transport lept forward and slung both VCXs towards the squadron ball and started chewing on a TIE bomber and keeping a bubble around the GR75 with ATN.
Vanguard flaked a couple bombers that were just within range and was followed by the Pelta moving to try to block in the Quasar. Finally, the Assault Frigate sent both arcs blazing into the ISD and left her with minimal shields but all her tokens still present.
Finally, Pryce took her moment and launched a fusillade of squadrons into the now VCX-less left side of the Assault Frigate. Stripping most of the shields as well as burning off my redirect token to keep Paragon from suffering a crit. Then zoomed forward with a nav token to speed 3 to dodge some arcs but ended up taking an asteroid for her trouble and ending up in quite the spot.
 |
| This isn't looking so good Paragon |
Round 3
The Quasar led off and slung the bombers harassing the Assault Frigate right back into her. Maarek took a salvo (left him with 2 hull) and the other TIE bombers devastated the Assault Frigate but left her limping along. A shot against the transport and the Neb did minimal damage and then a speed 3 zoom hopped over the transports and landed in the side arc of the Assault Frigate.
I really only had one choice and that was to activate Paragon. Both shots went off and I refreshed the salvo with Krysta, knowing that she wasn't going to make it out. All shields and a single hull damage were piled onto the ISD. Paragon could not escape the transport so stayed in place and prepared to return fire against the ISD.
Next, Thrawn's flagship activated and activated the remaining squadrons but couldn't get them far enough away from the VCX's to kill Paragon. So they chewed on fighters instead. Finally, the medium range shots wiped out Toryn and Paragon. A salvo did burn off the repaired shields and put another damage card onto the ISD. She then zoomed forward and took up the gap the Frigate and Toryn had vacated.
In angry retribution, my Slaved Turret HH slung 7 damage into the ISD. She burned her brace but walked away with only a couple more damage cards. Then the HH followed the ISD as closely as possible.
Finally, the Neb hurled a die into the ISD for a damage and the Pelta swung around to try to get shots in next round on the ISD.
The Exogorth's killed Maarek and chewed on all the bombers that hurt Paragon. And then moved their debris field in the way of the ISD. My fighters scrambled to try to kill anything to get some points back.
 |
| Lots less rebel ships suddenly |
Round 4
The ISD repaired herself used another Thrawn squadron dial to fling the bombers at the HH. Some blank attacks later saw the ISD give a side arc shot into the HH and some flak at the squadrons who had patiently waited to bomb the ISD. Afterwords, a hop forward landed on the debris field and burned both shields she had just regen-ed.
Next move was the near death HH. She took another anger powered shot into the ISD and left her limping along with only 3 hull after the ram, though that left her with a single hull. The Quasar shuffled Zertik to take a HH shot for nothing while the jumpmaster killed the Y-wing. Then she arced hard to the right to keep the bomber cloud in range. Pryce wasn't going to let that Hammerhead go.
Vanguard shot 3 dice from her side (with a Con fire) into the ISD and killed it thanks to IF!. Then turned hard towards the HH to flak down the TIE ball and try to kill the Quasar. The Pelta followed suit.
Exogorths got chompy, hurt a couple TIE bombers and Jendon. Tycho was the real hero and was just barely able to jump into the middle of the TIE bomber ball in an attempt to stop them from bombing the HH on the top of the next turn. The VCX's moved to engage the jumpmaster and Zertik. I placed the Exogorth's around the bomber cloud, (and maybe in the Quasar's way) even if it chomps Tycho it stands a chance at killing bombers.
 |
| Time for a HH to run! |
Round 5
The Quasar activated and commanded her squadrons to kill Tycho and bomb the single hull HH! Zertik tried to kill Tycho from a relay but wiffed on the accuracy and got taken to 1 hull from the counter. The remaining TIE bombers plinked a damage in but didn't kill Tycho and one died due to counter. The Quasar swung around the debris field.
The Hammerhead began to run straight ahead at spped 3 just trying to remain outside of bomber range. Vanguard flakked the jumpmaster to death and closed in on the Quasar. The Pelta swung around too, but would forever be out of the fight. The Exogorth's got chompy and forced Tycho to burn his brace and scatter but he lived and threw more damage into a bomber. Jendon was on 2 hull, and both bombers on 1.
The exogorths moved the Debris field and jumped back on it in the most likely position of the Quasar. Anything to hurt it at this point.
 |
| Keep running Hammerhead! |
Round 6
This would be a quick and brutal round. The Quasar used her last command to command her squadrons. Jendon killed Tycho and ran, then both TIE bombers rolled out towards the HH. The first one wiffed but the second got the clutch kill roll on the hammerhead. Then she moved forward and landed on the debris field and both exogorths. This left her with no shields and 2 hull left. The only thing I had in range was Vanguard. Who now had an obstructed shot on the Quasar but only 2 dice. The required accuracy was rolled to stop the brace but I didn't get the crit or the hit required, so the Quasar would live with one hull remaining. As even with the intent to ram, Vanguard couldn't make it happen. The flak picked up one of the bombers but wiffed on the other.
 |
| Final end state of the game |
After it was all said an done I scored just enough to eek out a 7-4.
Lessons Learned
That was a great game and went down to the wire. It was a blast to play. Now onto the things I learned. The fighter screen works but since it's slow (speed 3), it won't always be where it needs to be, especially if you commit the squadrons one direction. In this case, it was sending Tycho to get points and then moving the VCX to poke the TIE bomber that left one flank exposed. If I had left it on the flank of the Assault Frigate, then it might've died but maybe my Assault Frigate lives another turn. We'll never know.
The death by a hundred slashes works, though Paragon is probably going to die a lot. Since to get value out of her she needs to be shot at and put into some double arcs. Now as long as she trades up over her 102 points it's worth it but that's not necessarily the best way to score big at a tournament. However, Assault Frigates are decently tanky, where they can at least take a punch or two. That should give the rest of the hundred slashes time to close in and kill or at least avenge her death....should.
Finally, 4 combat ships and a key flotilla are really great to prevent a tabling. The Haymaker fleets of today are great at punching out one or two ships, but with 4 on the table (all sturdy enough for smalls/mediums) it can't (or likely won't) get to them all unless I fly it poorly. So if things take a turn for the worse on one flank, I can accelerate away with the other flank and steal any points I can on the way out. It'll probably stop a tabling and allow me to keep it to a reasonable loss, though it'll still be a loss. Again, nothing is a points pinata though, with the two ships near 100, 1 near 70, and one at 50.
Looking forward to playing it again.


