A little Wave 8 Action
Ladies and Gentlemen, Boys and girls of ALL ages, it's finally here! The long-awaited, the much anticipated Wave 8 for Star Wars Armada! Onagers! Starhawks! Officer Wedge! What's not to love... so my usual partner and I started this momentous occasion off by proxying a few cards, as we both picked rebels and the Starhawk is a mysterious force out in Germany. Also, this game is a couple weeks old as again life has been busy. But there are more write-ups incoming from several more games I got in as I'm making up lost time.
Yavaris tired it's best to kill the ATN transport but wiffed and forced shots on VCX's prevented the removal of the transports, Even the front arc of yavaris only dinged the transports for another damage. Leaving her with a single hull, but no means of doing any more damage to her. And then rammed the transport to death to keep out of range of the assault frigate as well as she could.
All my remaining ships took their shots on the Liberty. 4 attacks later, with most rolling at least 4 damage, left the Liberty without shields and without braces. Agate never got to discard a brace as I simply turned everything to damage on the dice. The Liberty lived through the round but had 6 hull left, no braces, and no shields for it's two redirects. My Assault Frigate pinned in Yavaris and rammed her to start the damage count on Yav, since Paragon still hadn't been shot.
| It's here!!!!! |
The Fleets
I am running the list I just finished writing about a day or two ago. Garm Frigates build on a Core of IF! and a Salvo Paragon. Besides my imagination this would be the inaugural test. Which could be scary since I spent some much time pondering how this works but what if it doesn't? If you're a first time reader or just hate rifling through my currently semi-disorganized blog, I've included links since I'm a nice guy and you should all remember that if and when I randomly travel to your area and play you with some random fleet.
Without further ado, the fabled Garm Frigates list is below.
 |
| What a finely tuned list of unexpected surprises! |
My opponent today brought none other than Krysta Agate as his admiral. She trotted on board a Liberty Death Cruiser...errr...Star Cruiser, gathered the rest of her fleet and took off to punish me for my foolishness.
Not content with a Liberty (and THE Liberty at that), she dragged along the infamous Yavaris, and two transports, one was all-in on the squadron game, the other more of a general fleet support flotilla. And Yavaris was pushing a massive cloud of bomber hate, 131 points in total. Fleet below for your consideration.
 |
| That's one angry cloud of fighters |
Setup
Now we both had been very busy since December and through most of January so it's easy to say we were a little rusty. You will see several non-optimum choices but we were both trying to figure out a new fleet for us and doing it with new cards. Eventually, I'm sure we'll get back in the groove of things but until then you all have a choice. Read my Armada misadventures to scratch that Armada itch since otherwise why are you on my teeny piece of the internet OR not, doesn't matter to me, since I actually got to play some Armada.
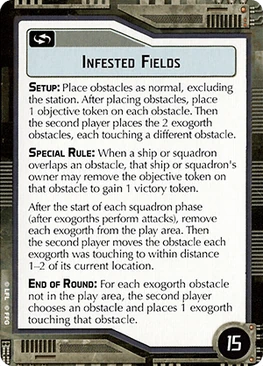
I had a one point bid and chose to go second, because why not use my objectives. That's probably what I'll be playing most of the time anyway. We picked Infested Fields to play, since it's new and it's always better to at least have played an objective before you see it in a tournament.
I personally love this objective for several reasons. A) it's not superior positions or Solar Corona and B) it can give you some points but ALLOWS YOU to move obstacles with exogorths. Do you like moving asteroids into inconvenient places for your opponent? Do you like setting up Worm shields for your ships where if they want to bomb you your opponent gets chomped? or has to jump to your flak heavy/ATN guarded other side so they're not obstructed? Sounds like a win to me!
 |
| Fantastic Blue objective, give it a whirl next time |
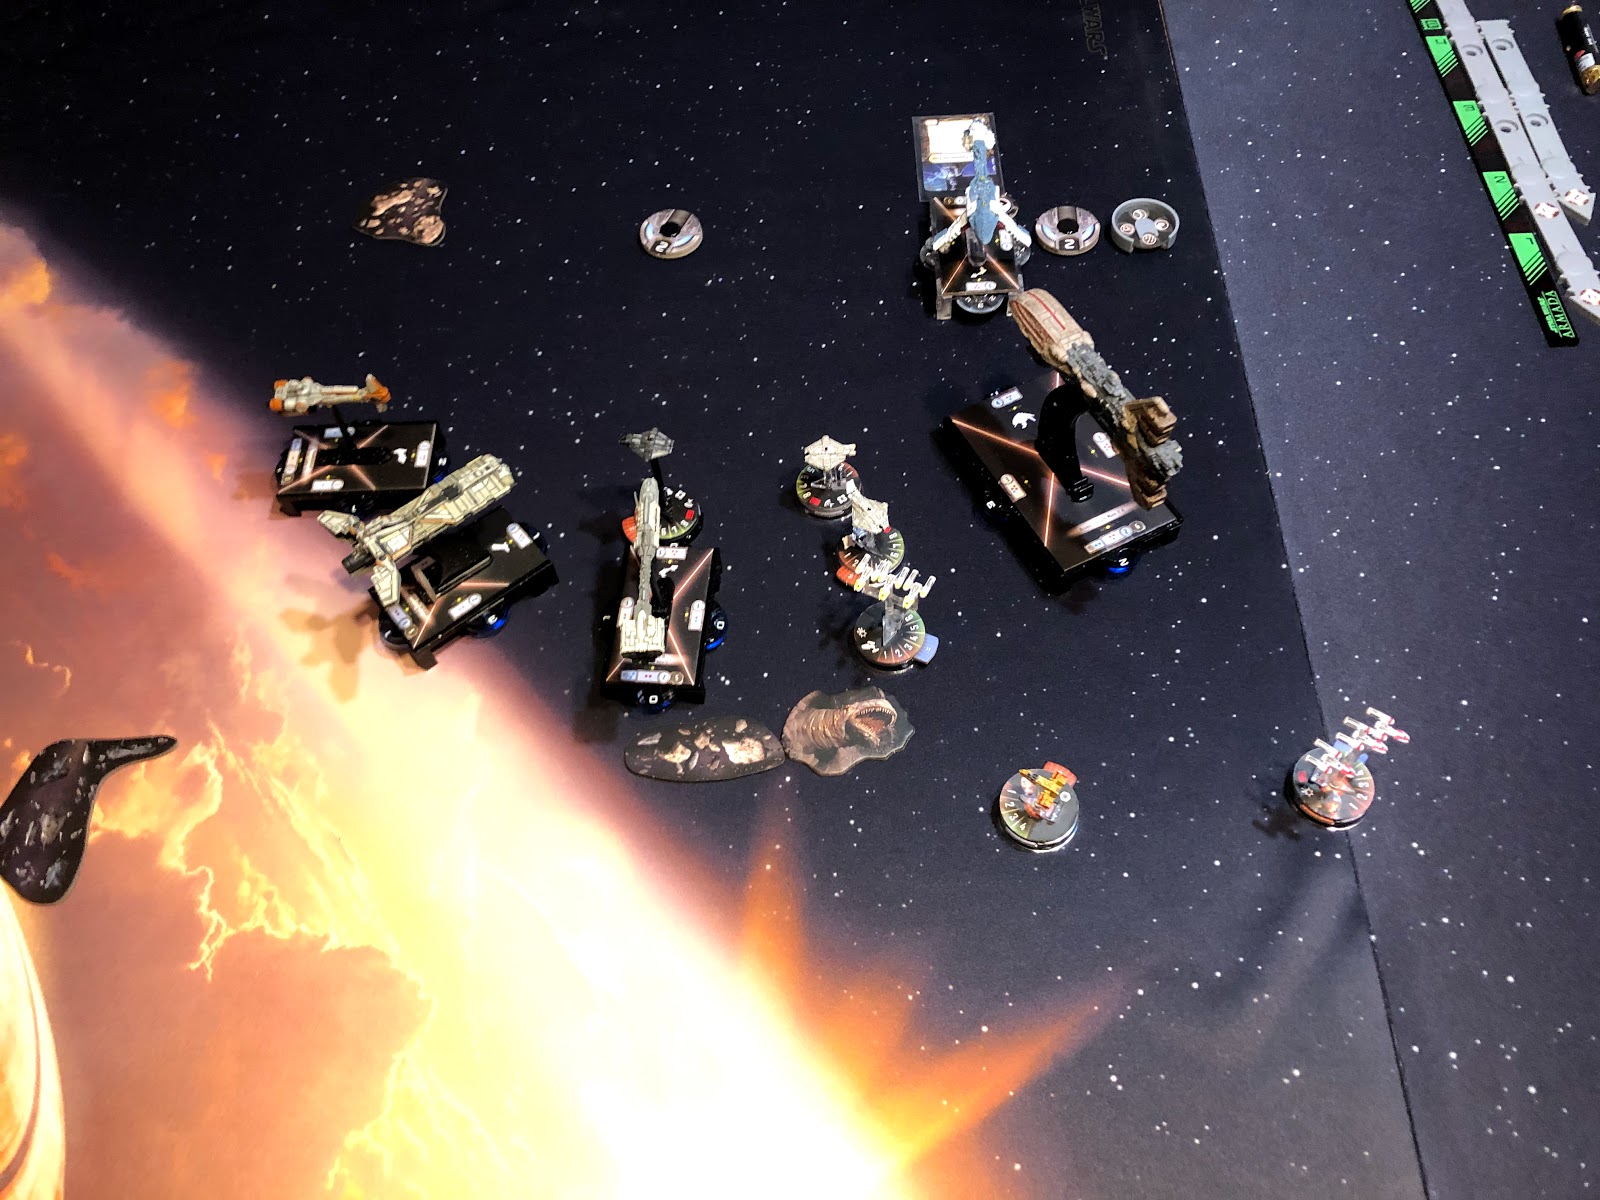
I placed the obstacles in a vague line in front of me to gather some points and maybe be in a position to exogorth travel some asteroids to their best location. He placed two obstacles in the corners, probably not getting points but not going to feed his squadrons to the worms and denying me those points as well. We both played the flotilla goes first followed by squadrons dance. Which he definitely won. So after placing my squadrons I setup as planned. The Scout Hammerhead setup to flank one side and the Assault Frigate anchoring the other. The middle flak belt was setup to be able to support either side. Pelta providing more shooty-ness (it's a technical term) by the Scout HH and the Neb covering the transports.
Finally, my opponent got to drop the Agate Lib. For a while he thought about dropping it on the far left flank to wrap my battle line in a ball but ultimately ended up putting in where it could have shots on everyone. I mean it's an Agate Liberty it should be a beast in taking shots.
I placed the exogorths on the asteroids close to him to discourage points grabbing or at least punish him for it.
 |
| Post setup. There's a debris field WAY, WAY off to the right that won't come into play...EVER. no 15 points for you...or me |
Round 1
Round 1 started with my Scout HH and Pelta maneuvering to swing around the asteroids to flank the liberty. My opponent's Adar Tallon Transport pulled a quick trick with Corran, hopping him onto the asteroid to snag 15 points and then using relay on a VCX to pluck him off with the other transport later in the turn. Netting him 15 points and the Exogorth didn't even get to chomp anyone. Otherwise, Toryn and her flotilla chugged forward with the Assault Frigate. The Liberty and Yavaris setup with tokens for the next round and my Vanguard slogged forward at speed 1, a possible mistake since Vanguard barely got any shots in the entire game since she started out so slow.
The Exogorth's chomped no one and moved the furthest left asteroid to cause problems and the furthest right asteroid to move away so my opponent wouldn't get those 15 points. Two of my VCX's grabbed points and Tycho and the Y-wing moved to cover the Assault Frigate. This might've left my VCX's out of the battle but 30 points is hard to pass up.
My opponent's Yavaris powered ball inched forward and Ten Numb aggressively positioned himself towards my Assault Frigate.
 |
| End of Round 1: That's gonna be a lot of dice hate coming my way |
Round 2
It began with the Adar Tallon transport launching Corran into the fray sniping Tycho for a damage after the Brace and then triggering Ten Numb on the Y-wing to ping Tycho for another, then using Adar to make Ten Numb ready again. Toryn went next and had the Y-wing and Tycho send a damage each into Ten Numb and forced both braces to be used. Finally, Ten Numb had to inch into a double arc of the transports to shoot at the Y-wing, ultimately flak left Ten Numb at a single hull.
The Liberty inched forward next. Using a token from round 1 to trigger Ten Numb putting another splash damage into Tycho and leaving the Y-wing limping along. Finally, Liberty let him activate another squadron and the X-wing dove in and finished off Tycho.
Vanguard then inched forward with a nav command and sped up to 2. This was important but a squadron command also would've been useful to move my VCX's back into covering positions with the help of ATN. Probbaly the more useful thing.
The far right transport activated and had to spend both activations to kill the Y-wing with Jan and a VCX due to some sub-par attacks. It then inched forward. My Scout HH took an obstructed shot against the left transport at long range but failed to get the requisite accuracy Then moved even closer and dodged the front arc of the Liberty.
Finally, Yavaris sent forth it's horde. Dutch killed the remaining Y-wing and sent Gold Squadron over to bomb the front of Vanguard and Yavaris made an accurate shot against Toryn's transport for no damage.
Next up, my Pelta laid into the left most transport and with the help of an accuracy, deleted it since it had already overlapped an asteroid and exogorth for some damage early in the turn. Then trundled closer to the Liberty.
Finally, the Assault Frigate, while having a great double arc shot on the Liberty chose to flak the squadrons as much as possible. I probably wouldn't get more than 2-3 damage into the Liberty anyway so my two blue flak, backed up with Toryn did a number on the squadron ball sitting in my front and side arcs. Moved forward just a bit but rammed the transport to keep a double arc.
Finally, the exogorth chomped no one and my VCX's moved as close as they could to the ATN transport to cover the ships from next turn's squadron attacks.
 |
| Lots of arcs on that Liberty |
Round 3
It began with Ezra's transport launching more fighters into the fray and trying to escape from the Assault Frigate. The fighters did manage to get a damage or two into the front of the transport and Corran tried to pin the rearmost VCX in place. Then we fiddled with the maneuver tool for a while but couldn't find a way to escape the AF so a ram resulted, leaving the transport on one hull.
I figured Toryn's transport would eat a medium range shot o f the Liberty and die so I activated it and had the VCX's and flak chew on Gold Squadron and Corran. Killing Gold squadron with flak and leaving Corran at 3 hull, while reducing everyone else even further. Toryn then inched into close range of the Liberty.
Next activation, the Liberty ripped into Toryn and Vanguard with the front battery. However, no accuracy meant the transports stayed alive and Vanguard was able to brace the attack and ended up without front shields and a damage card. It rammed Toryn and stayed in place, unfortunately able to get shot by EVERY one of my ships.
Vanguard took it's front shot on the Liberty and then flak/combined with ruthless strategists left the entire squadron ball reeling at one or two hull, and leaving my VCX with a single hull and forcing someone to have to waste an attack to kill it since the ATN transport hadn't died that turn.
Yavaris tired it's best to kill the ATN transport but wiffed and forced shots on VCX's prevented the removal of the transports, Even the front arc of yavaris only dinged the transports for another damage. Leaving her with a single hull, but no means of doing any more damage to her. And then rammed the transport to death to keep out of range of the assault frigate as well as she could.
All my remaining ships took their shots on the Liberty. 4 attacks later, with most rolling at least 4 damage, left the Liberty without shields and without braces. Agate never got to discard a brace as I simply turned everything to damage on the dice. The Liberty lived through the round but had 6 hull left, no braces, and no shields for it's two redirects. My Assault Frigate pinned in Yavaris and rammed her to start the damage count on Yav, since Paragon still hadn't been shot.
 |
| Things are not looking good for the Liberty |
Round 4
After some bad math, possible forgetting Paragon existed, my opponent chose to activate Yavaris at the top of the round. It's fighters finally were able to kill Toryn's transport and put the beginning of some damage into Paragon. It was prompted salvo'd back to continue the process of killing Yavaris.
Next, Paragon activated and with a side arc of 3 Red, 1 Blue put 4 damage into the Liberty and the Front shot of 2 Red, 1 Blue, 1 Black, produced the remaining two damage required to kill it. IF! and that black dice provided a solid amount of damage. At this point we called it as, after the Assault Frigate rammed Yavaris again there was no way it was escaping before the ball of other small ships descended upon her.
While it would've been interesting to undo the massive pileup caused by my formation, a couple rams wouldn't change the game and it was getting late.
 |
| Final Game state. Next up, Yavaris in the crosshairs |
Lesson Learned
Not that it's any real surprise but powered up by Intensify Firepower! a swarm of medium/small ships will buzz saw through many opposing fleets. The challenge is keeping them all alive and then hitting the 'target' with everything in one round. Either it'll bleed defense tokens and be an easy kill next turn or it will save them for later but ultimately end of succumbing to the death by a hundred slashes (not quite a thousand cuts).
Agate officer was never used (since the AF never got shot) and Agate (Admiral) seems strong, just never came into play this game. Maybe one day Paragon will live the add to black after after she salvo'd someone dream.
I liked my deployment and the way it played out except for one thing. Vanguard was placed too slow so only barely entered into the battle at the end. A speed two Vanguard could've gotten another round of flak on the bomber cloud and made the cloud of fighters even more fragile. Which goes to position two with Vanguard, it needs a squad dial to push the remaining squads the transport can't on turn 2 or 3. It has Squadron 2 and should be crucial to ensuring the VCX's are in position around the ATN transport to keep ships from being bombed.
Which lead us to ATN. Man does it work! It forced the primary target to be the transports (instead of ships actually shooting at you) and managed to use the high hull of the VCX's and Y-wing as a literal meat shield that had to be chewed through. However, it is a careful balancing act to keep it relevant and your fighters in the requisite places to make ti work. That is a dance I will have to work on over time. The moment something is just out of range 2, it becomes useless and those bombs start singing against the hull of your own ships.
Overall, it was a good game with learning for both of us. I'm gonna keep running this fleet for a while to see if I can put a little more polish on it and see how it fairs against other types of fleets. I'm worried by a Ravager though....


