Clone Wars Round 1 Cut
Game 4

For the next round I was paired up with PT106 who was cruising into the round with a solid 22 Tourney points as well. I was surprised I made it this far but I was having fun and learning new Clone wars stuff every game. PT106 was also rolling in with some Acclamators and C70s, so it'd be some Clone on Clone action. Without further ado, let's hop to the lists.
PT 106's List
 |
| Shiny Swivel Mount Batteries...How do those work again? |
PT had a list with a pair of Acc II gunships decked out for long range black dice, though he was going for raw damage rather than any black dice crits. And those two gunships would be backed up by Bail riding in his Acc I, and a pair of Armed cruisers, one built for flak and the other for a stream CF tokens. All this firepower was reinforced with Intel Officers to deny defense tokens, though there was a lack of squads in the build that I would have to do my best to capitalize on.
My List

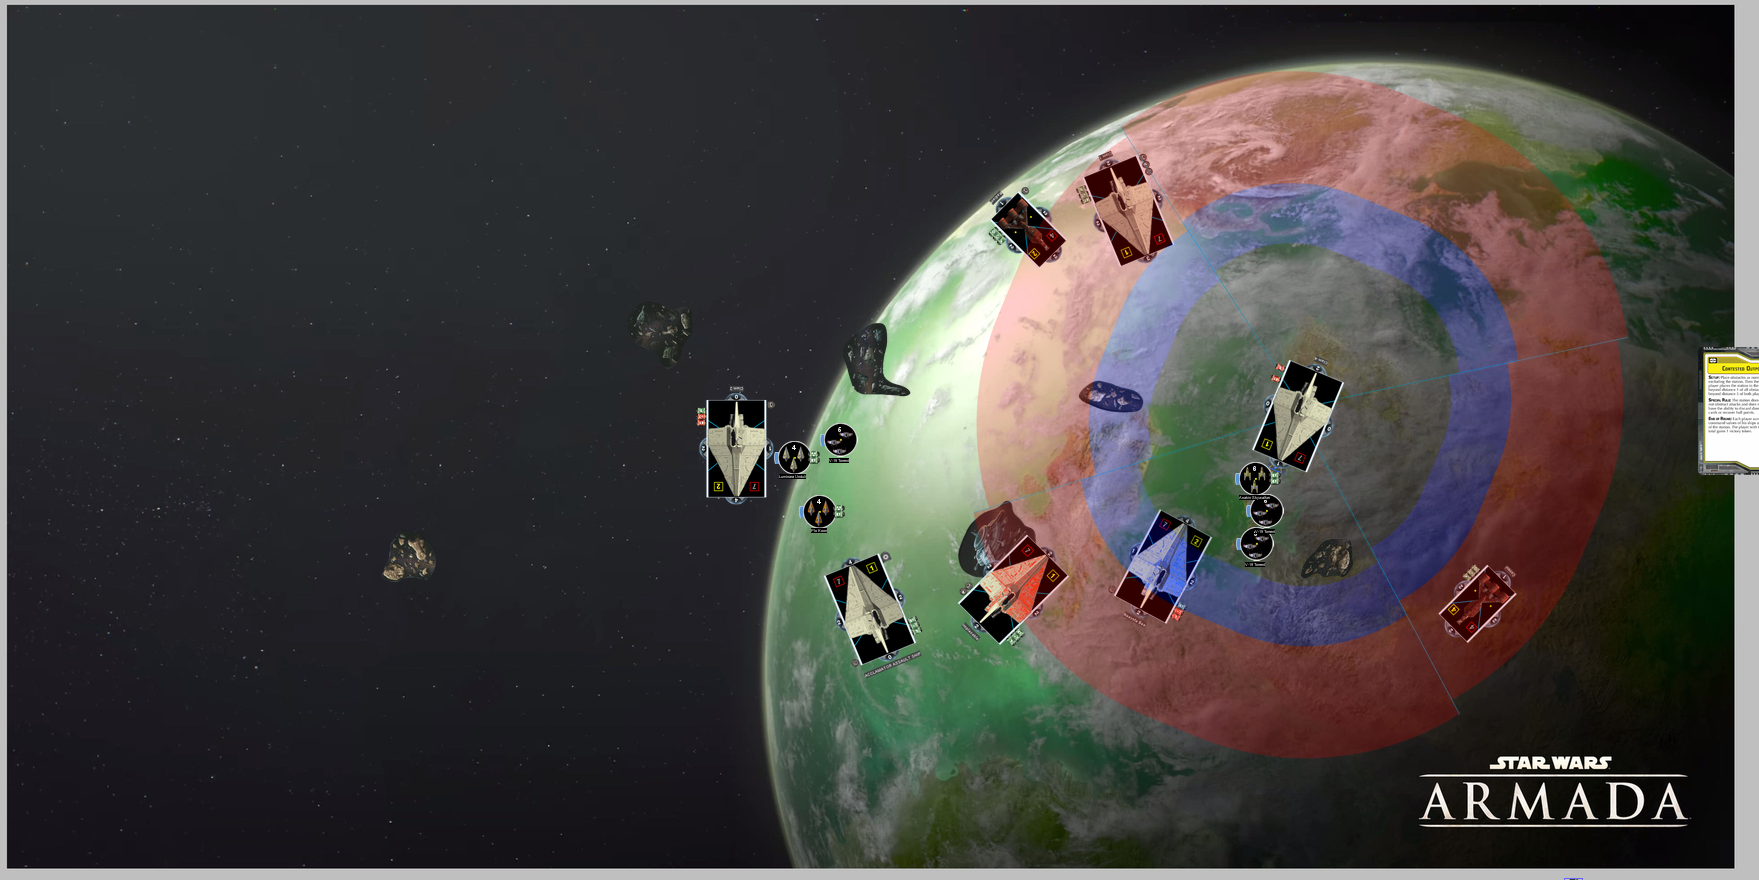
Setup
 |
| End of setup |
Round 1
 |
| End of Round 1 |
Round 2
PT's flagship started and trundled forward at speed 1 after grabbing a repair token. I then elected to burn a pass token so the munitions resupply C70 went and grabbed a repair token as well.
I finally had to move one member of my fleet. I elected Implacable to bear the honor and crept her forward at speed 1, grabbing a Nav token for herself and using Clone Nav Officer to give one to Nevoota. Then she turned harder toward the right side of the board but stayed inside support range (range 2) of eveyone.
The flanking C70 with external racks activated and darted forward staying out of range and then I used my final pass token. This caused the left most gunship to activate and she threw 4 damage with swivel batteries, a Con Fire, and Intel Officer that locked my brace and salvo. So with the help of Implaccable's sharing shields, Bail and Implacable both took 2 shield damage. The gunship then slowed and chugged forward remaining out of close range.
So Bail activated, shifted rear shields to the front with his repair token, used Clone Nav Officer to give himself a squad token (for future boarding team shenanigans) and then flung a V-19 and both Delta Jedi Aces forward for not much before throwing damage itself and getting it redirected to strip the rear shields. She then turned towards the gunship at speed 1.
PT's final gunship activated and with a Con Fire and Swivel Batteries, tossed 4 damage into Nevoota that she redirected and salvoed back for a damage. The gunship turned hard into the board, starting to move to the station.
Finally, Nevoota activated, used a Bail Eng to fix her shields, CNO to gain a squad token for her Boarding Troopers and then tossed 2 V-19s and Anakin at the gunship off her nose. 4 damage later Nevoota shot another 3 into the gunship. Stripping the redirect and leaving her with 2 rear shields and a single front shield but no hull damage. Then she accelerated to get the gunship in close range next round.
End of the round I used my free refresh for all the CNOs and then it was off to the races and I gained another victory point for the station.
 |
| Explosions are happening soon. |
Round 3
 |
| Ships are starting to trail debris |
Round 4
PT used Reinforced blast doors on the injured Clam and then a Bail repair to bring it back to life with some shields. A highly accurate Swivel Battery, Con Fire side arc forced me to trigger Implacable and then eat only a single hull point of damage on Bail. Then the gunship darted forward to well within range of the station.
Nevoota went next with a Bail Eng token to fix her front shields and then launched her V-19s and Ani into PT's flagship. 4 damage from the starfighters left PT's flagship with only rear shields but no hull damage. After a brutal exchange of fire, salvos, and criticals PT's bail was left on a single hull point and Nevoota was left with 3. A deft ram from Nevoota finished off Bail before he could activate.
Munitions resupply C70 sent a damage into Nevoota that she could do nothing about then maneuvered into the double arc for next turn after a ram, leaving Nevoota at a single hull. Next, Bail activated, repaired his rear shields and threw Plo at the remaining gunship for 1 damage, and then completely whiffed on his rear arc to rear arc attack before moving forward.
The flanking C70 finished off Implacable's front shields but took a single damage from salvo in return. Then got into range 1 of the station, denying me the points there.
Implacable activated, fixed her front shields (to gain an unstoppable redirect via the title, since it works on itself) and then Boarding Troopered the Consular. The consular burned the redirect and contain to lose only front and side shields and was down to 3 hull. Then a single point of damage went into the gunship before Implacable rammed Nevoota to death. I had thought about speed zero to keep Nevoota alive but with Bail having done zero damage to the gunship I couldn't risk not getting a shot with Implacable next round. The unacctivated V-19 hopped towards the station and where future C70s might be. PT got the station victory point.
 |
| Less Clams here |
Round 5
PT activated the gunship at the top of the round and rolled an accuracy (for the brace) and piles of doubles that absolutely eviscerated Implacable. She lost all of her shields, and was down to 3 hull but did salvo for 2. The follow-up side arc shot got the requisite accuracy and 3 hits which was just enough to finish off Implacable, though she did get to salvo again for another damage point. Then the gunship plowed ahead and into her own C70 leaving the C70 with 2 hull and the gunship with 1.
Bail activated next and had to do a single damage to finish off the gunship but of course whiffed and moved away and out of the engagement. Ships kills were now in the hands of the uncommanded Jedi and Clone pilots.
The C70s put out some heavy flak and killed a V-19 and damaged Ani. The end of the round happened with Plo putting the 1 needed damage into the gunship and then a V-19 and Ani forcing the wounded consular to burn it's evade to stop from taking damage. Otherwise, Luminara and a V-19 maneuvered into place to catch the 2 hull consular next round. Another victory point to PT for his consulars.
 |
| Fate is left in hands of the fighters |
Round 6
I hadn't done the math yet but with Bail safe the game was essentially decided, but we played out the final round quickly. External Rack powered flak cost Anakin and a V-19 their lives while Bail ran for the hills. But the wounded C70 had no place to go that wouldn't land on rocks or get shot. Eventually it dodged the rocks but it was still in range of both squadrons, though they both had to roll hits. And the V-19 and Luminra didn't miss this time, killing the C70 but PT still got the station victory point. So those were a wash in the end.
 |
| End of game |
End Result
The end result was 419-286 in favor of me. A 7-4, not that it really matters in an elimination round. This was a close game that the final score doesn't quite reflect, as a couple of dice one way in round 3 could've rapidly tipped it away from me and seen my Bail disappear from the board.
If my Bail had taken more damage early in round 3-4, the C70s would've probably had enough time to close and get some dice into the target in addition to simply getting some ram damage in to finish him off and table me. Also, if the right most gunship hadn't turned so hard in, it might've still been in Implacable range and perhaps wouldn't have died or at least forced me to use both arcs to kill it; therefore, leaving PT's flagship more shielded for the next round and therefore living through the double arc.
I really like how PT used his Swivel Mount Batteries. I haven't figured out a way I like them but pairing them with CNO or Munitions resupply (or both) to only activate them for a round eliminates the downside of losing dice in the sides as ships maneuver around you. Paired with Intel Officer though it threw a lot of firepower out that I couldn't do all that much to stop besides burning tokens. Which is a very good way to hurt ships as my entire list is built on that principle.
PT raised a good point that shaving some points from the C70s and getting EWS instead of RBD on the gunships should work really well. I am definitely stealing this Acclamator for a future list, especially if there is some form of IF! beyond flag bridge to fix those red dice.
Also, GAR flak is potent though not as potent as 6 squadrons getting to pile damage in unmolested for several turns. While no squadron did an abundance of work they all contributed damage that helped really pile it onto the targets and stress tokens and shields. So while Ord Pods and flak can pose a problem, I don't think it was enough of a deterent and a token fighter screen is probbaly required in these 1.5 Armada times.
Again, a great game and PT106 was a great opponent to play as we continue the churn to the best droid or Clone Commander.


