The wait is over
The final game of St Louis- very delayed writeup
It's taken a bit (Thanks COVID!) but here's the story of my last game at St. Louis. I had the privilege of playing Nathan yet again and the result was one of the most fun and swingy games of Armada I've had the joy to play. Nathan, sorry it took so long to write and push that publish button.
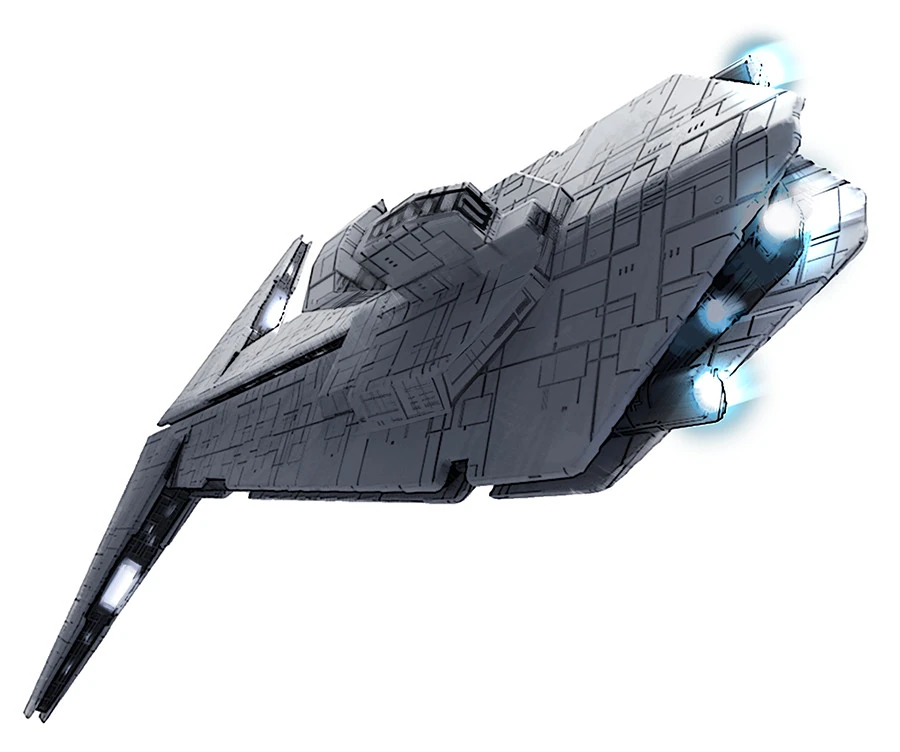
I borrowed some ships from Nathan as instead of the usual Garm Frigates fleet I've been itching to try a little modification to my Prime Fleet I took to the Atlanta region. Mostly, a couple of the new toys seem to offer some interesting possibilities. Again it is heavily based on Spamming of Engineering and just having my cruisers not die...but now with Agate and salvo thrown in there.

Nathan was again playing with an Onager but a bit of a mixup from the last game swapping in an Arquetin, the ubiquitous Demo, and a Gozanti instead of full Raider Spam. A much more balanced fleet (minus Nathan's ever present absence of fighter coverage. Interesting use of LFC on Demo. It wasn't used that much this game but with Screed fixing the dice for Crits for you (at least once) it is a fun, new choice that I'm sure sure I'm brave enough to try.

Setup
Nathan chose second not because he necessarily would but because he was going to take this to Chicago Prime in a week or two and wanted to see how it would perform as a second player. To further those ends I chose Abandoned Mining Outpost, because I generate a large amount of engineering and because neither of us had played it yet. I always find it is super helpful to at least seen an objective once so you know it's pitfalls and other common mistakes. Also, you can avoid all the mistakes of setup/play that we corrected in Round 1.

We both picked a points harvesting Dust Field to camp by and then scattered the other obstacles toward my right side of the field. Each placing a Purgill within range to screw with each other.
Then the dance began, me dropping transports and fighters until I ended up parking my cruisers across from his Onager in a bid to drive forward fast and kill it before it hammered me into oblivion.
 |
| Let's see if shields CAN repel firepower of that magnitude! |
Round 1
So this was both our first time playing Abounded Outpost so I gave myself engineering tokens which I spent getting points from the dust field. This was a blatant mistake and was easy to correct when we read the objective card again at the top of round 2.
As most first turns go it was unexciting but full of mounitng tension. My opponent slowed to speed zero on everyone and harvested some points from the dust field and I trudged forward to begin the battering of shields and gnashing of teeth. Also, the Onager had laid a nice little Ignition token directly in the path of my flagship. I wouldn't worry about that though.
 |
| That MC75 is about to take one on the chin |
Round 2
The flotillas played the 'pass the token' games.While Nathan re-accelerated his ships over the dust field and still managed to harvest some points. At this point I was pretty sure this was going to get out of hand real fast with 3-5 ships harvesting 15 points a turn.

Except there were more than two harvesting points!
Eventually my cruisers clamored into range and took a decent hit from the Orbital Bombardment cannons of the Onager. Causing some hull damage on the nearest flotilla and my MC80. The MC75 had tried to setup a double arc but the Onager managed to stay just in the front arc and just out of black range. It better prepare for a devastating three blue die attack next turn.

End of Round 2
Round 3
Utter bloodbath! I forget exactly how the game unfolded at this point (it'd been a bit before I got to this point in typing) but in general it went like this. The Onager was waiting. It was in perfect place right now to not get beat up badly. I had my flotiilas harvest some points and push some squadrons into the face of the Onager to start working down shields or flippinf defense tokens. Minimal damage but at least the squadrons did something.
Nathan's Small ships inched forward and put some damage into Krysta while his Goz just harvested points at speed zero. Eventually, the MC75 punched Demo and reduced most of her shields but lurched into close range double arc of the Onager. And that was the death knell for the MC75. Or near to it. As Nathan's Raider was still lying in wait. If he had moved it forward it surely would've gotten crushed by the front arc of the MC75.
So now I have an MC75 pinned in on all sides by very dangerous ships and bleeding profusely. And the Raider rolls just enough damage to kill the MC75 with zero overkill. Before Walex and RBD got to bring back a brace and three hull points. And before the MC75 could have one glorious moment where she probably takes the Onager and Demo down with her at the start of next turn. That is until the MC75 would've still be in close range of the Arq and Raider. But ...instead she's dead.
No picture here because 'the heat of battle' was upon us.
Round 4
So to take vengeance my MC80 had a very nice double arc setup on the Onager and took a perfectly devastating (with no real dice mods) shot at the half dead Onager. And as fortune would have it, roll just enough to smash the Onager to some debris and then tries to limp out of range of everyone else.

Soon after the Onager was destroyed
So, Nathan's small ships now started pouring in the heat on the MC80. not only that but he was smart enough to dial in a bunch of engineering commands and began harvesting points off the station now. My flotilla valiantly pushing some meager fighters forward but do no significant damage. She ends up in the face of Demo where she would meet her demise from ramming...eventually. The Raider turns to pursue and the Arq pours in some long range fire.
And the Goz happily harvests a token at speed zero.

End of Round 4/Start of Round 5
The round counter certainly helps keep track of pictures!
Round 5
I began by activating my flotilla and getting some shots into the raider before positioning themselves to keep poking Demo. At least make her kinda scared. And ram for some self damage.
Next, the Goz activates...and stays at speed zero to harvest another token. Still our of range of the MC80. We had a good laugh about this in the moment because it was the longest we've seen a ship at speed zero and it was doing totally fine. Ended up making like 50 points!
Now the MC80 activated, healed herself as much as possible, put a hurting into the Raider and left her with two hull points left. Then advanced as menacingly and threateningly towards that Gozanti as possible. The remainder of the turn was spent with Demo ramming the flotillas to death and the Arq taking a good long range shot into the MC80.
And finally the Raider throwing a couple dice into the MC80 and then moving. but where to? She eventually decided to go for glory and the fun of the game and turned in to Ram the MC80 and bring the cruiser down to two hull points and herself to two as well. Dangerous gamble here but at this was an absolute blast!
So my MC80 is left with three shields, one hull and a contain left. A soon-to-be-dead Raider behind it AND a speed zero Gozanti that was just barely (we're taking JUST) in longe range of my MC80. And then I'd have to take an long range Arquiten shot, it'll work out I said. It'll be easy enough to point my 3 shield side at him an limp away intact.

It'll be fine. Mon Cal Cruisers are super tanky...
Round 6
And here we really only needed to activate two ships, as Demo wasn't going to die despite be swarmed by Rebel pilots with mediocre aiming skills. See those damage cards. Self inflicting ramming almost entirely.
I activated my MC80, repaired a hull damage and took my kill shot on the Raider. keeping with the trend of rolling exactly what we needed, an accuracy and 3 damage roll in for the Raider kill. So at close range I target the Evade, Thanks Iden!, but the brace can;t save the ship and down she goes . Now for the shot on the defenseless Gozanti.

Magic filled the air
Well, there we go. Two fantastic rolls and I limp towards the dust field but don't make it, to no one's surpise. So I have to whether the shot from the Arq. 5 damage from four dice, even with TRC's isn't a guarantee by any means but...
The Arq Counterpoint
And just like that the MC80 goes poof! Finally demo repairs herself some more and my fighters continue to keep her on the threshold of death but not even taking her there. And that was the game!
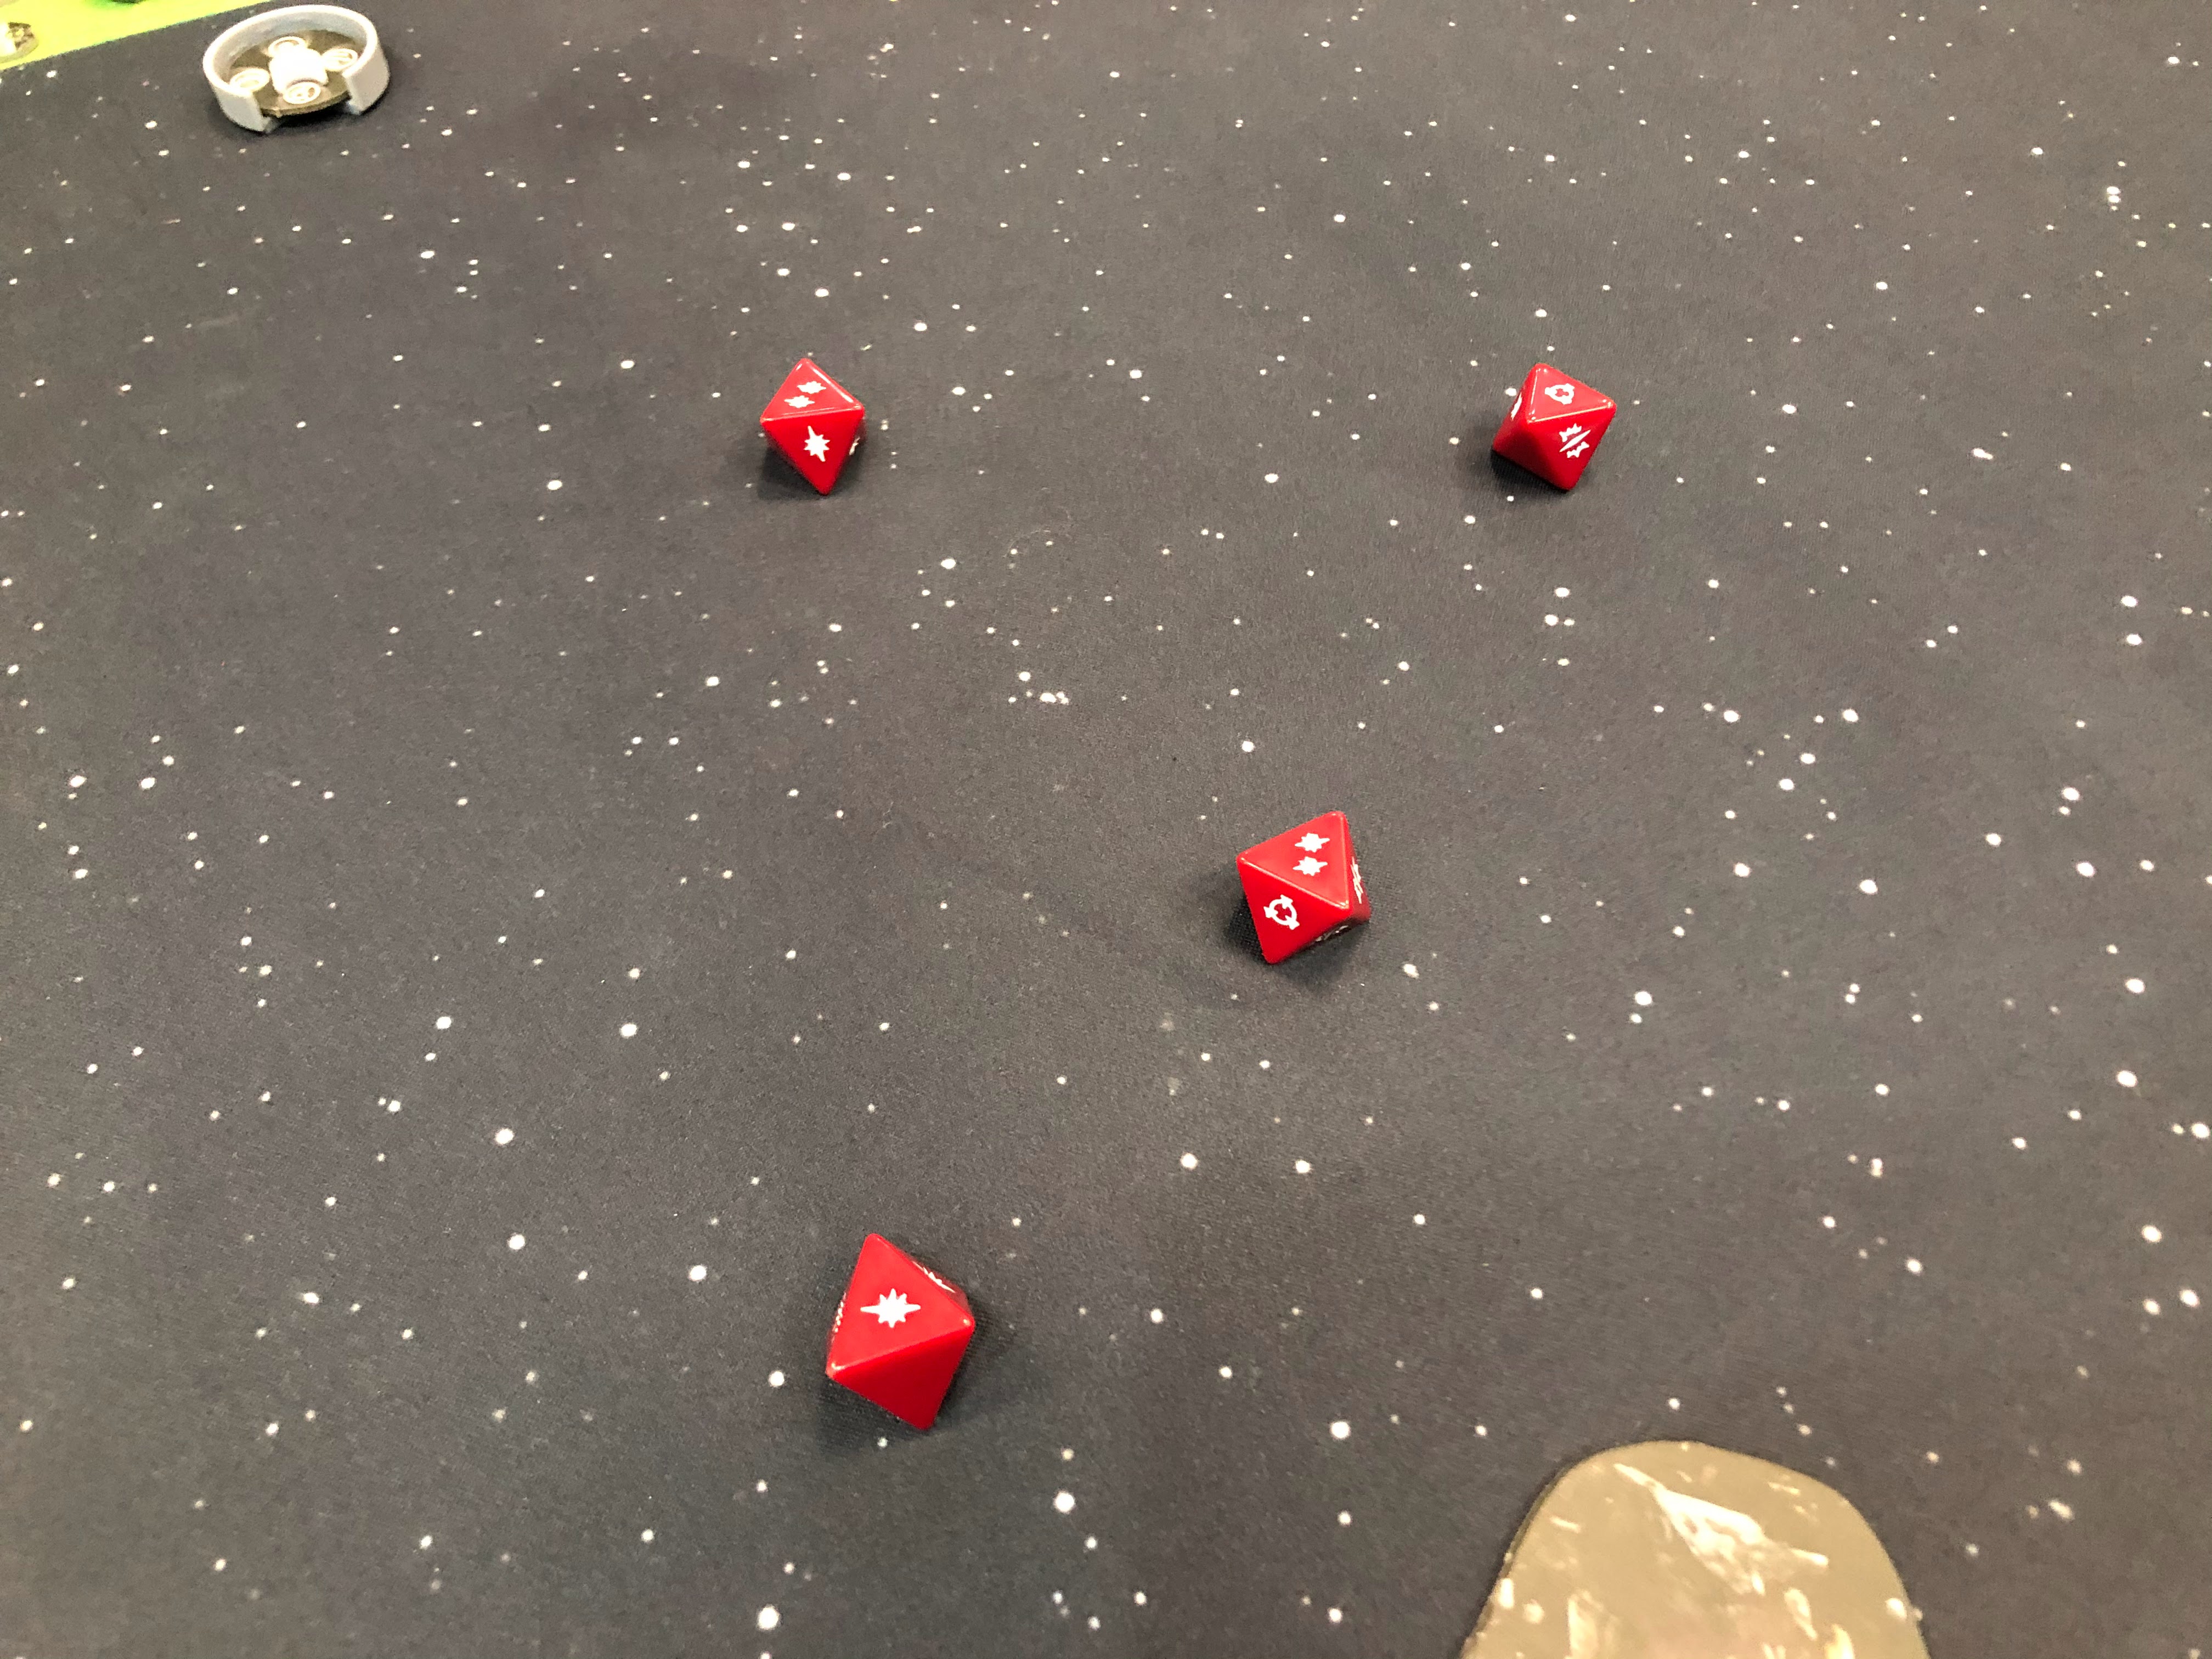
Well, then we had to add up the points the victory tokens would add. So besides being tabled, Nathan ended up getting 160! points to my 50! Basically, the entire cost of the Onager.

Piles of tokens!
End result & Lessons learned
Overall, like I said this game was a blast to play! The momentum turned back and forth on crazy dice throws almost too many times to count. Overall, I feel very comfortable with this type of fleet and it generally performs well enough and doesn't bleed points for tournaments. That being said I'm not sure Krysta keeps the MC75 alive long enough, but maybe I just need more practice and too soften up ships before she does her heroic charge to doom.
Also, I like the idea of LFC in an MC75 but for a blue and black just doesn't seem to do much. Probably either a boarding team or WBT to help ensure a blue crit that does additional damage. I'll play around with it some more, but MC75's always don't quite put out the damage I feel like that can, unless you have a blue crit OR the ordinance version.
Onagers! Man those things are scary. Exodus fleet works with the tactic of just taking one on the chin as you close but it is generally uncomfortable to enter into engagement range and already be down a handful of shields. Once you get in close though they tend to get chewed up badly. You just have to have something that can make it into range. I'm thinking the future version of this list is probably going to revert to the Ordinance Cruiser with ACMs. Because that's just a lot of raw damage.
On the Imperial side, I think the list worked well. The Onager makes fighting the carriers of a bomber build doable, and the rest of the ship are good to corner and hurt most other combat ships. I really liked Iden and will have to give her a try. Still not sure on the Demo LFC but it's an extra crit you can through at someone since you have a two die rear arc and Screed works on enemy activations.
Otherwise, thanks for waiting for the writeup Nathan and thanks for reading everyone.

